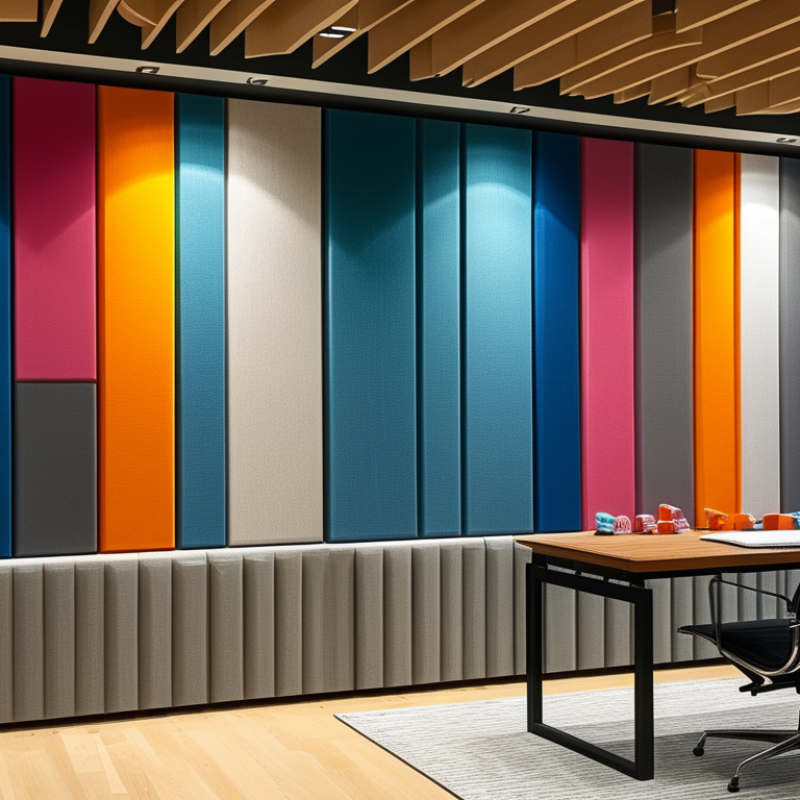
What Are the Best Modular DIY Acoustic Panels?

Choosing the best Modular DIY Acoustic Panel requires more than comparing colors, prices, and online reviews. A useful panel must control reflections, reduce reverberation, and fit the room’s actual purpose. A bare home office sounds different from a podcast corner, music room, or open-plan workspace. The difference can be heard in a sharp handclap. It can also appear in recorded speech as echo and muddiness.

Professional standards provide a stronger starting point. ISO 3382 explains how reverberation time is measured in rooms, while ISO 354 evaluates sound absorption in controlled environments. ASTM C423 reports absorption performance using laboratory testing and the Noise Reduction Coefficient, or NRC. These figures help, but they do not guarantee identical results at home. Installation gaps, ceiling height, furniture, and panel spacing can change performance significantly. The numbers need context.

Health guidance adds another layer. The World Health Organization’s Environmental Noise Guidelines for the European Region connects excessive noise exposure with sleep disturbance, annoyance, and broader health risks. However, acoustic panels are not hearing protection. They mainly manage room sound. That distinction matters. The most convincing choice combines tested materials, suitable thickness, safe mounting, and honest expectations. A 50-millimeter panel placed at an early-reflection point may improve speech clarity more than several thin panels scattered randomly. No panel is perfect. Even experienced installers sometimes over-treat a room and create a dull, unnatural sound. This guide examines modular designs through measurable performance, practical installation, appearance, maintenance, and real-world value.

What Are the Best Modular DIY Acoustic Panels?

What Are Modular DIY Acoustic Panels?

Modular DIY acoustic panels are movable sound-absorption units assembled from separate frames, fabric covers, and porous cores. They reduce reflections inside a room, but they do not block noise through walls. That distinction matters.

A typical panel uses mineral wool or recycled fiber, often 50–100 millimeters thick. Greater thickness usually improves low-frequency absorption, especially with a small air gap behind the panel. ASTM C423 testing measures sound absorption in a reverberation room, while ISO 11654 classifies absorbers by performance. These ratings are useful, but home results may differ.

Room placement changes everything. Place panels at first-reflection points beside the listening position. Add ceiling coverage above desks or recording areas. Corner units can help with bass buildup, although thin wall panels rarely solve deep bass problems. I have found that mapping reflections with a mirror works better than guessing. It is simple.

The World Health Organization’s Night Noise Guidelines recommend indoor bedroom noise below 30 dB(A) at night. Panels cannot guarantee that target, because ventilation, windows, and construction quality also matter. They can make speech clearer and reduce harsh echoes. A 2023 acoustics assessment should still include reverberation-time measurements, not only product claims. DIY installation is flexible, but uneven spacing and uncovered hard surfaces can limit results. My own weak point is expecting visual symmetry to equal acoustic balance. It does not. Test, adjust, and measure again.

How Modular Acoustic Panels Control Sound

What Are the Best Modular DIY Acoustic Panels?

How Modular Acoustic Panels Control Sound

Modular acoustic panels control sound by absorbing reflections before they bounce across a room. Most use porous materials that slow air movement inside their fibers. This process reduces mid and high-frequency energy, making speech clearer and recordings less harsh. They do not completely block outside noise. That difference matters.

A practical setup often places panels near the first reflection points on side walls. Add ceiling panels above a desk or listening position when echoes remain noticeable. Leave a small air gap behind each panel. This gap can improve absorption at lower frequencies, although results depend on panel thickness and room size. Rear-wall panels may reduce repeated reflections, while thicker corner treatment can help with bass buildup.

Modular designs make testing easier. I would begin with four panels, clap near the room center, and listen for a sharp flutter. Then record the same sentence before and after each change. A basic measurement microphone offers better evidence than listening alone. Placement still beats decoration.

Too many thin panels can make a room sound strangely dull. I have also seen attractive layouts fail because they ignored the ceiling and corners. Acoustic treatment needs adjustment, not blind symmetry. Furniture, windows, and empty walls all change the result. A useful plan leaves room for revision.

Which Materials Make the Best DIY Panels?

What Are the Best Modular DIY Acoustic Panels?

For most DIY rooms, porous materials offer the strongest acoustic performance. Mineral wool and fiberglass usually absorb more sound than thin foam. Published ASTM C423 test reports commonly show 50-millimetre panels reaching an NRC of about 0.90 to 1.05. NRC measures average absorption across selected mid-frequency bands. It does not describe every listening condition.

Polyester fiber panels are cleaner to handle and easier to cut. However, their absorption often depends on thickness and density. A 25-millimetre panel may control speech reflections, while a 50-millimetre panel performs better with lower frequencies. A breathable fabric face is essential. Plastic-coated cloth can trap reflections and reduce absorption. Adding a 50-millimetre air gap often improves low-frequency performance, according to principles described in ISO 354 reverberation-room testing. The result still changes with wall distance, room size, and mounting method.

Tips: Choose dense, rigid cores, then cover them with acoustically transparent fabric. Wear protective equipment when cutting fibrous materials. Check local fire-safety requirements before installation. Use corner panels for bass control. Do not trust a hand clap alone; record decay times with measurement software. My first panel build looked excellent but absorbed too little bass because it was too thin. That mistake was useful. DIY testing should remain part of the design.

How to Design and Assemble a Modular Panel System

What Are the Best Modular DIY Acoustic Panels?

How to Design and Assemble a Modular Panel System

A modular acoustic panel system starts with measurement, not decoration. Clap tests can reveal reflections, but they are only a rough guide. Measure the room’s length, width, and ceiling height. Note hard surfaces, windows, doors, and large furniture. A simple sketch prevents expensive guesswork.

Use panels with rigid frames, breathable fabric, and porous insulation. Avoid sealing the insulation inside airtight plastic. Sound needs to enter the absorbent material. For a small room, begin with four to six panels measuring about 60 by 120 centimeters. Leave a five to ten centimeter air gap behind each panel. This gap usually improves low-frequency absorption.

Build identical frames for easier repositioning. Screw the corners together, then check each frame with a carpenter’s square. Wrap the fabric tightly, but do not stretch it until the frame bends. I once made that mistake. The panel looked neat but rocked against the wall. Small felt pads fixed the movement, although rebuilding the corner would have been cleaner.

Arrange panels at first-reflection points beside the listening position. Add ceiling panels when voices or music sound harsh overhead. Use removable cleats or strong mechanical fasteners suited to the wall structure. Test one panel group before building the entire set. Walk around the room and listen from several positions. A balanced room should feel clearer, not unnaturally dead. Leave some reflective surfaces uncovered. Too much absorption can make speech feel flat and uncomfortable.

What Are the Best Modular DIY Acoustic Panels? - How to Design and Assemble a Modular Panel System

Design Dimension Recommended DIY Specification Practical Data or Standard Design and Assembly Guidance
Typical panel size 600 × 1200 mm or 600 × 600 mm These dimensions are easy to handle, transport, and repeat in a modular layout. Use one size for a clean grid or combine both sizes to create a staggered pattern.
Absorber thickness 75–100 mm for a general-purpose broadband panel Thicker porous absorbers generally provide better low-frequency absorption than thin panels. Allow the frame depth to accommodate the absorber without compressing it.
Air gap behind panel 50–100 mm where wall space permits An air cavity increases the effective depth of the absorber and can improve lower-frequency performance. Use spacers, cleats, or French cleats to maintain a consistent gap from the wall.
Absorber material Rigid or semi-rigid mineral wool, glass fiber, or polyester fiber board Porous materials absorb sound by converting air-particle motion into small amounts of heat. Select a product intended for interior acoustic use and follow its handling and safety instructions.
Fabric cover Breathable, acoustically transparent fabric A tightly woven or coated fabric can reflect sound and reduce the absorber’s effectiveness. Test the fabric by breathing through it gently; avoid plastic-backed or impermeable coverings.
Frame construction Lightweight timber frame with a rigid rear support or open back A stable rectangular frame keeps the absorber flat and makes each module replaceable. Keep the front face free from solid decorative boards that would block sound entry.
Panel placement First-reflection points, rear wall, and selected ceiling areas Early reflections can reduce speech clarity and create strong coloration in recording or listening spaces. Use a mirror method or a helper to locate side-wall reflection points from the main listening position.
Recommended coverage Begin with approximately 20–30% of the room’s wall and ceiling surface Coverage should be adjusted according to room size, furnishings, surfaces, and the desired balance between absorption and liveliness. Install modules gradually and listen or measure after each group is added.
Module spacing 50–150 mm visual gap between adjacent modules Spaced modules preserve some exposed wall area and make the system easier to rearrange. Use a consistent spacer or installation template so the grid remains aligned.
Bass-frequency treatment Use thicker broadband panels, corner traps, or membrane-based absorbers Small, thin wall panels are mainly effective at mid and high frequencies and do not replace dedicated bass treatment. Prioritize vertical corners and the rear wall when low-frequency buildup is noticeable.
Mounting method French cleats, Z-clips, picture-rail hooks, or removable brackets Removable hardware supports reconfiguration and simplifies maintenance. Choose fasteners rated for the panel weight and the wall substrate; anchor into studs where possible.
Safety considerations Use protective clothing and a suitable mask when cutting fibrous materials Some insulation materials can irritate the skin, eyes, and respiratory system during fabrication. Seal exposed edges with fabric or a compatible liner and follow local fire-safety requirements.
Performance verification Use room measurements, clap tests, speech tests, or acoustic measurement software Absorption coefficients vary with material, thickness, air gap, mounting, and test method; product ratings are not interchangeable without test conditions. Treat published acoustic ratings as test-specific data and evaluate the complete installed system where possible.
Planning note: A modular system works best when panel thickness, air gap, mounting hardware, and placement are designed together rather than selected independently.

How to Compare Performance, Cost, and Flexibility

The best modular DIY acoustic panel balances performance, cost, and flexibility. Thickness alone does not decide quality. ASTM C423 measures sound absorption in a reverberation room, producing a Noise Reduction Coefficient, or NRC. Higher NRC usually means better mid-frequency absorption, but results depend on mounting conditions. A 50-millimeter panel with a 50-millimeter air gap can outperform the same panel mounted directly on a wall. ISO 354 testing also shows why laboratory results need careful interpretation. Home rooms rarely behave like test chambers.

Cost comparison should include frames, fabric, mounting hardware, shipping, and replacement time. A cheaper panel may become expensive after repeated installation changes. The U.S. General Services Administration’s Sound Matters guidance identifies about 0.6 seconds as a practical reverberation target for many office environments. Your listening room may need less or more. Measure before buying. A phone app can reveal trends, but it is not a calibrated acoustic meter. I have trusted visual symmetry too much before. It made the room attractive, not necessarily clearer.

Tips: Compare absorption data at 125, 250, 500, and 1,000 hertz. Ask for ASTM C423 or ISO 354 results. Keep panels movable when furniture may change. Leave small air gaps behind wall-mounted units. Treat early reflection points first, then evaluate bass control. Do not cover every surface; excessive absorption can make speech feel unnaturally dry. Floor rugs, curtains, and bookshelves also affect the final result. Industry measurements guide decisions, but your ears still need the last word.

Typical modular DIY acoustic-panel options are compared using sound absorption, estimated material cost, and installation flexibility. NRC values and costs represent common ranges for fabric-wrapped mineral-wool or fiberglass panels, PET-felt panels, and slatted wood panels with an acoustic backing. Higher flexibility scores indicate easier relocation, resizing, and reconfiguration.